How to Change a Baby’s Diaper: A Step-by-Step Guide for New Parents
Share
Becoming a parent is one of life’s most exciting journeys, but diaper duty often feels
overwhelming at first. Don’t worry, you’re not alone. Every new mom and dad goes
through this learning curve, and with a little practice (and the right essentials), it quickly
becomes second nature. The key? Staying prepared with tools like a portable
changing pad that make diaper changes cleaner, faster, and stress-free, whether you’re
at home or traveling.
This step-by-step guide will walk you through the diaper changing process and highlight
why a portable diaper changing station is a true lifesaver for new parents.
Step 1: Gather Your Essentials
Before you begin, have everything you need within reach. Preparation keeps the process
smooth and prevents messy surprises.
Diaper-changing essentials:
● Hygienic: Protects your baby from public surfaces.
● Convenient: Lightweight, foldable, and easy to carry.
● Practical: Quick to clean and reuse.
● Gift-worthy: One of the most thoughtful baby shower gifts and a true
newborn essentials must have.
Travel tip: A diaper changing pad travel set fits easily in your diaper bag,
making it a must-have for families on the go.
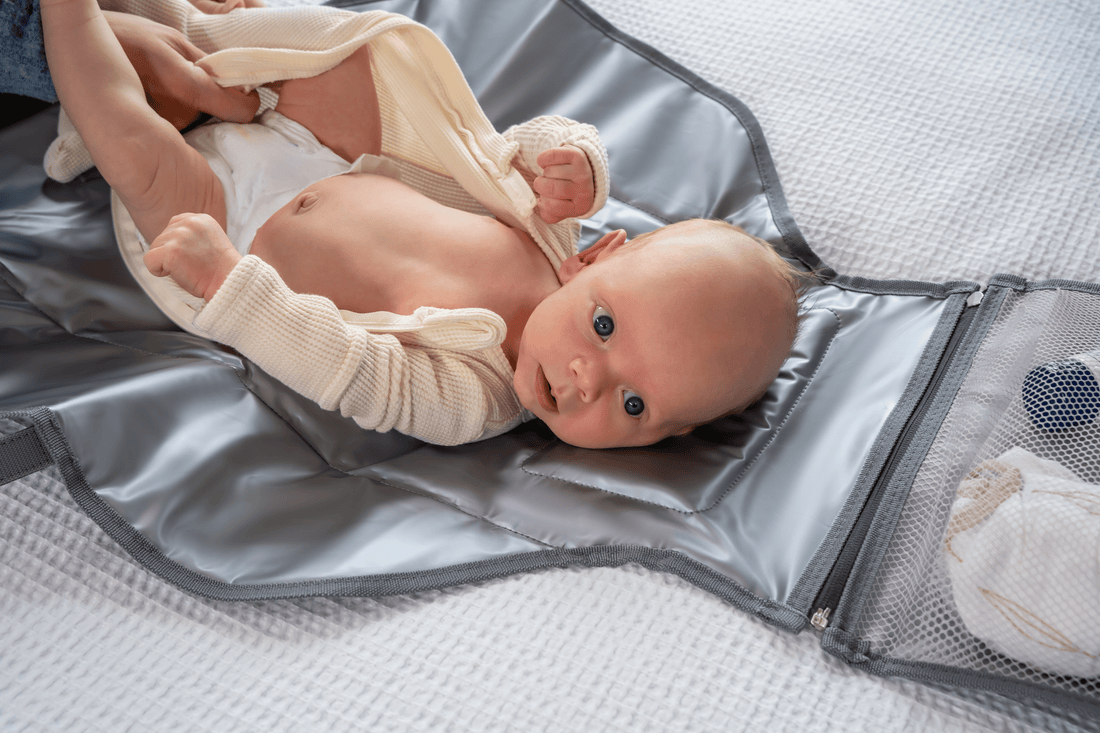
Step 2: Create a Safe, Comfortable Space
At home, you may use a changing table. But while out, a changing pad portable
option ensures your baby has a clean, cushioned surface. Always keep one hand on your
baby for safety, especially if you’re using elevated areas.
Step 3: Remove the Dirty Diaper
Unfasten the tabs gently, lift your baby’s legs, and use the front of the diaper to wipe
away the bulk of the mess. Fold the soiled diaper closed and set it aside. This method
keeps everything contained and manageable.
Step 4: Clean Your Baby
Wipe your baby thoroughly, always moving from front to back to prevent infections.
Make sure every crease is clean and dry. A fresh, dry bottom keeps your baby
comfortable and helps avoid rashes.
Step 5: Put On a Fresh Diaper
Slide a clean diaper under your baby, apply cream if needed, and fasten the tabs. The
diaper should be snug enough to prevent leaks but not so tight that it restricts
movement.
Step 6: Wrap Up
Dispose of the dirty diaper, clean your folding changing pad, and place it back in
your diaper bag. Finish by washing your hands thoroughly.
Why Portable Changing Pads Are Essential ?
Diaper changes will happen thousands of times in your baby’s first year. Having a
portable changing pad makes every change easier:
● Hygienic: Protects your baby from public surfaces.
● Convenient: Lightweight, foldable, and easy to carry.
● Practical: Quick to clean and reuse.
● Gift-worthy: One of the most thoughtful baby shower gifts and a true
newborn essentials must have.
For traveling families or busy moms, a foldable changing pad is not optional, it’s
essential.
Final Thoughts: Changing a diaper may never be glamorous, but it doesn’t have to be
stressful. With this step-by-step guide and a reliable portable diaper changing pad,
you’ll handle diaper duty confidently, anywhere life takes you. Parenthood is full of
challenges, making diaper changes the easiest part of your journey